You can have the best tackle, boat and fishing spot on the lake, but if you don’t know how to tie a good knot, you might as well stay home.
While the fish don’t care how many knots you know or how fast you can tie them, when you get a bite, simple physics takes over: If a fish can pull hard enough to overcome the friction of your knot, you’re going to be talking about the one that got away. And since repeated casting and hooksets – combined with the lubricating effects of water – can easily cause an incorrect or poorly tied knot to slip, it pays to tie a good, solid knot every time.
Mercury Pro Team member Barry Stokes, former host of “Let’s Fish TV,” knows all about tying the right knot for every situation. Stokes has fished at the professional level for decades and has learned through trial and error the right and wrong way to tie the best knots.
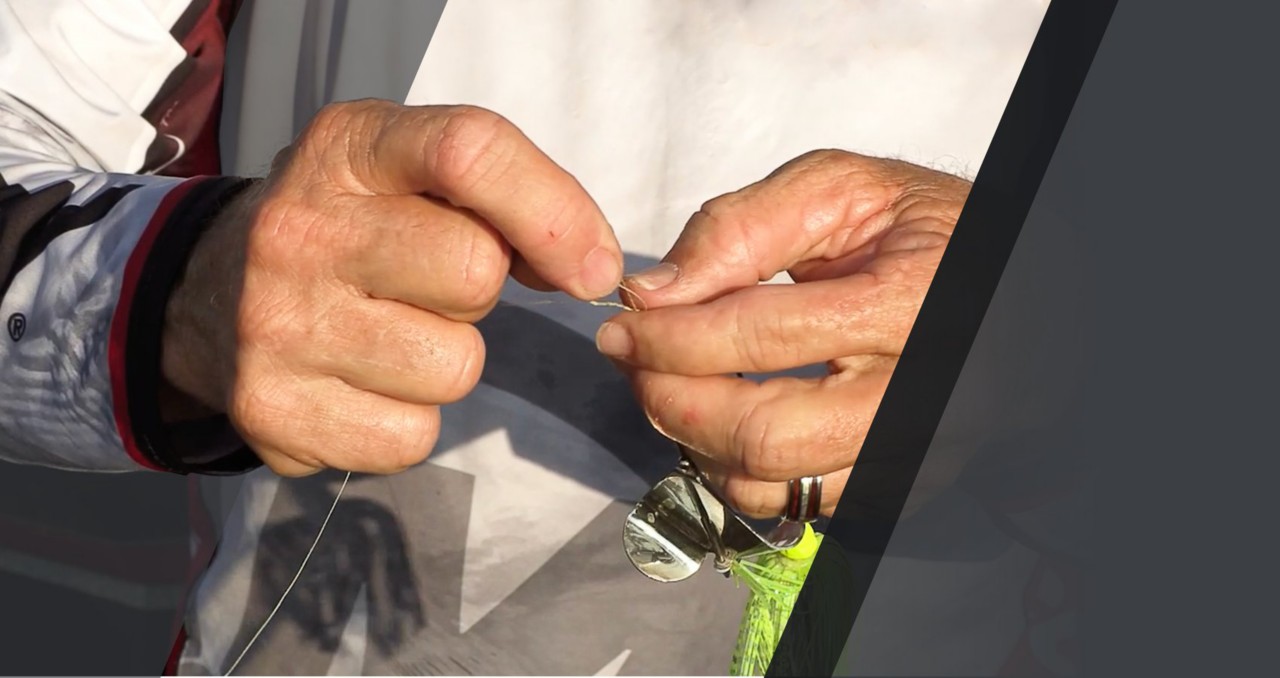
In this video, he’ll show you how to tie one of his favorites, the improved clinch knot. This is his go-to knot for several situations, including when tying braided line directly to a hook or lure. He’ll tie directly to braid when fishing with some topwater lures, fishing in muddy or murky water, or fishing for catfish.
The improved clinch knot has an extra step beyond what’s done in the standard or traditional clinch knot, and that step helps prevent the slick braided line from pulling loose. It’s also an easy knot to learn and can be tied very quickly in almost any situation. All you need to remember are a few simple steps:
- Feed the tag end of the line through the eye of the lure (or hook).
- Hold your finger against the eye and between the tag end and standing part of the line.
- Cross the tag end over the standing part of the line so that it forms a loop around your finger, then wrap the tag end three times around the standing part of the line.
- Pass the tag end of the line back through the loop created by your finger. This will form a second loop.
- Pass the tag end through that second loop.
- Remove your finger from the first loop and carefully tighten by pulling firmly on the tag end and the standing part of the line. The result should be a clean, compact knot that won’t slip
If you stopped after step No. 4 and tightened everything up, you would form the standard clinch knot, which is fine for some applications. But by taking the extra step of running the tag end through the second loop to create the improved clinch knot, you get a much more solid connection that’s far more resistant to slippage over the course of many strikes.
If you’re still not sure of the mechanics, don’t worry. Stokes demonstrates each step clearly and simply in the video. With a little practice, soon you’ll be tying the improved clinch in seconds, and you’ll be ready to put it to use next time you rig your tackle for a day on the water.


