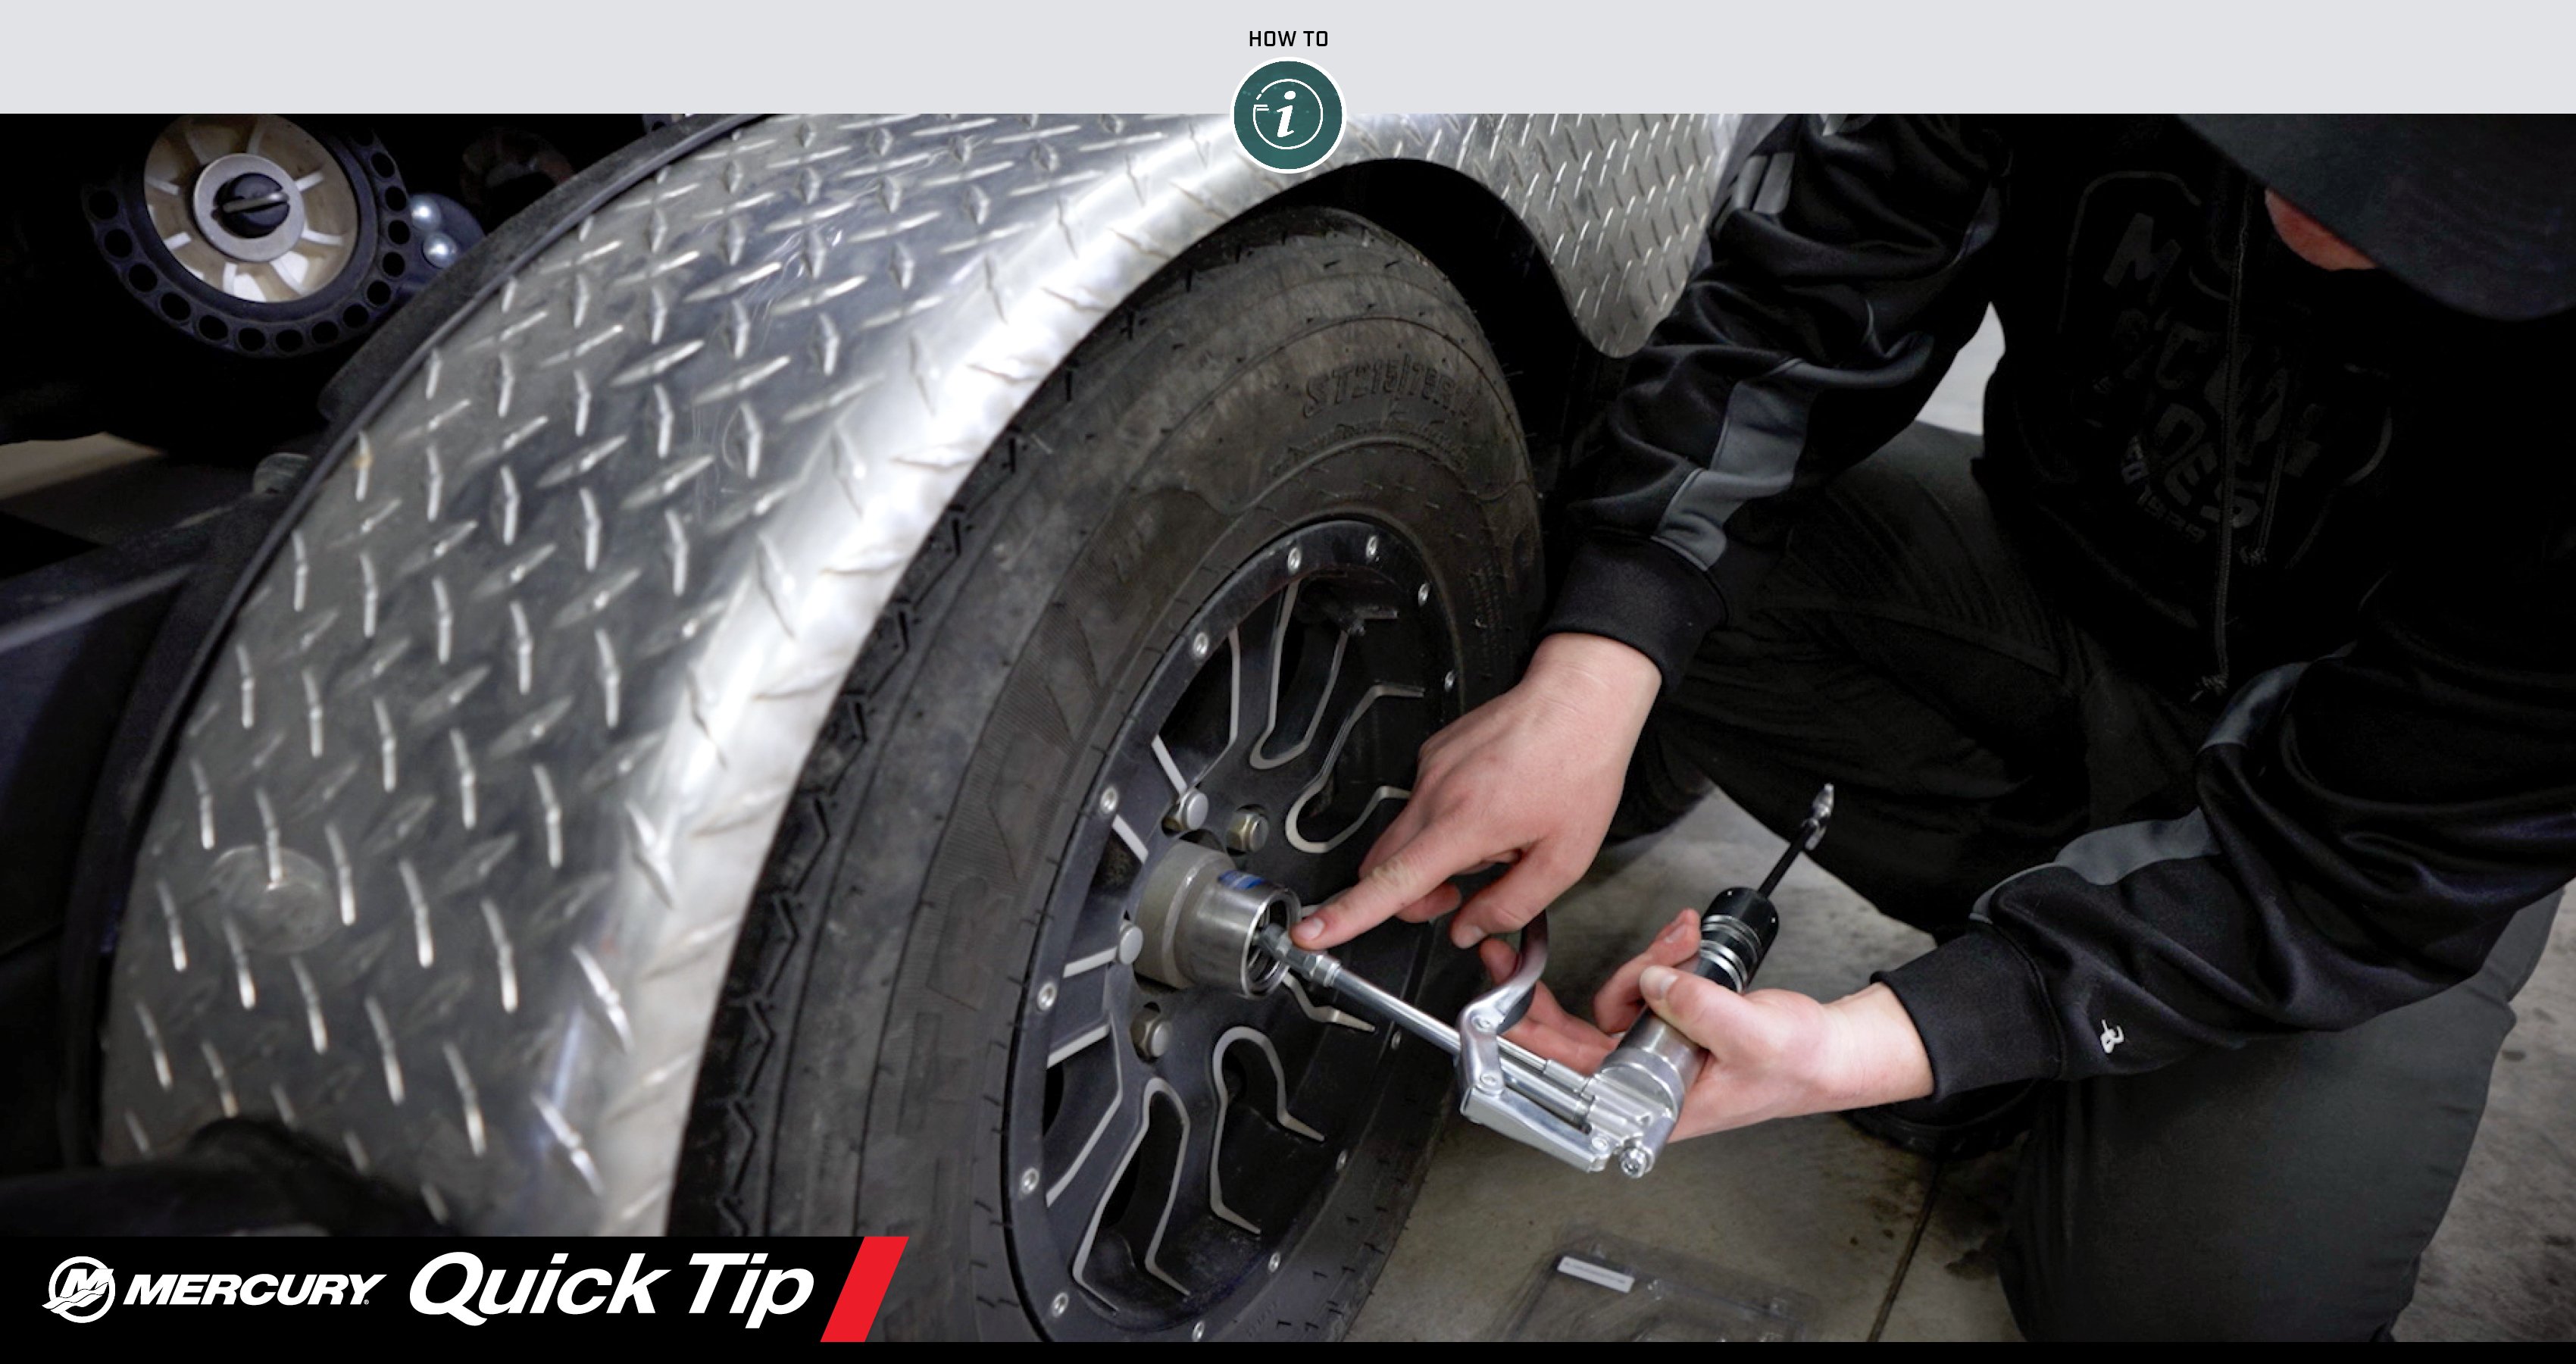
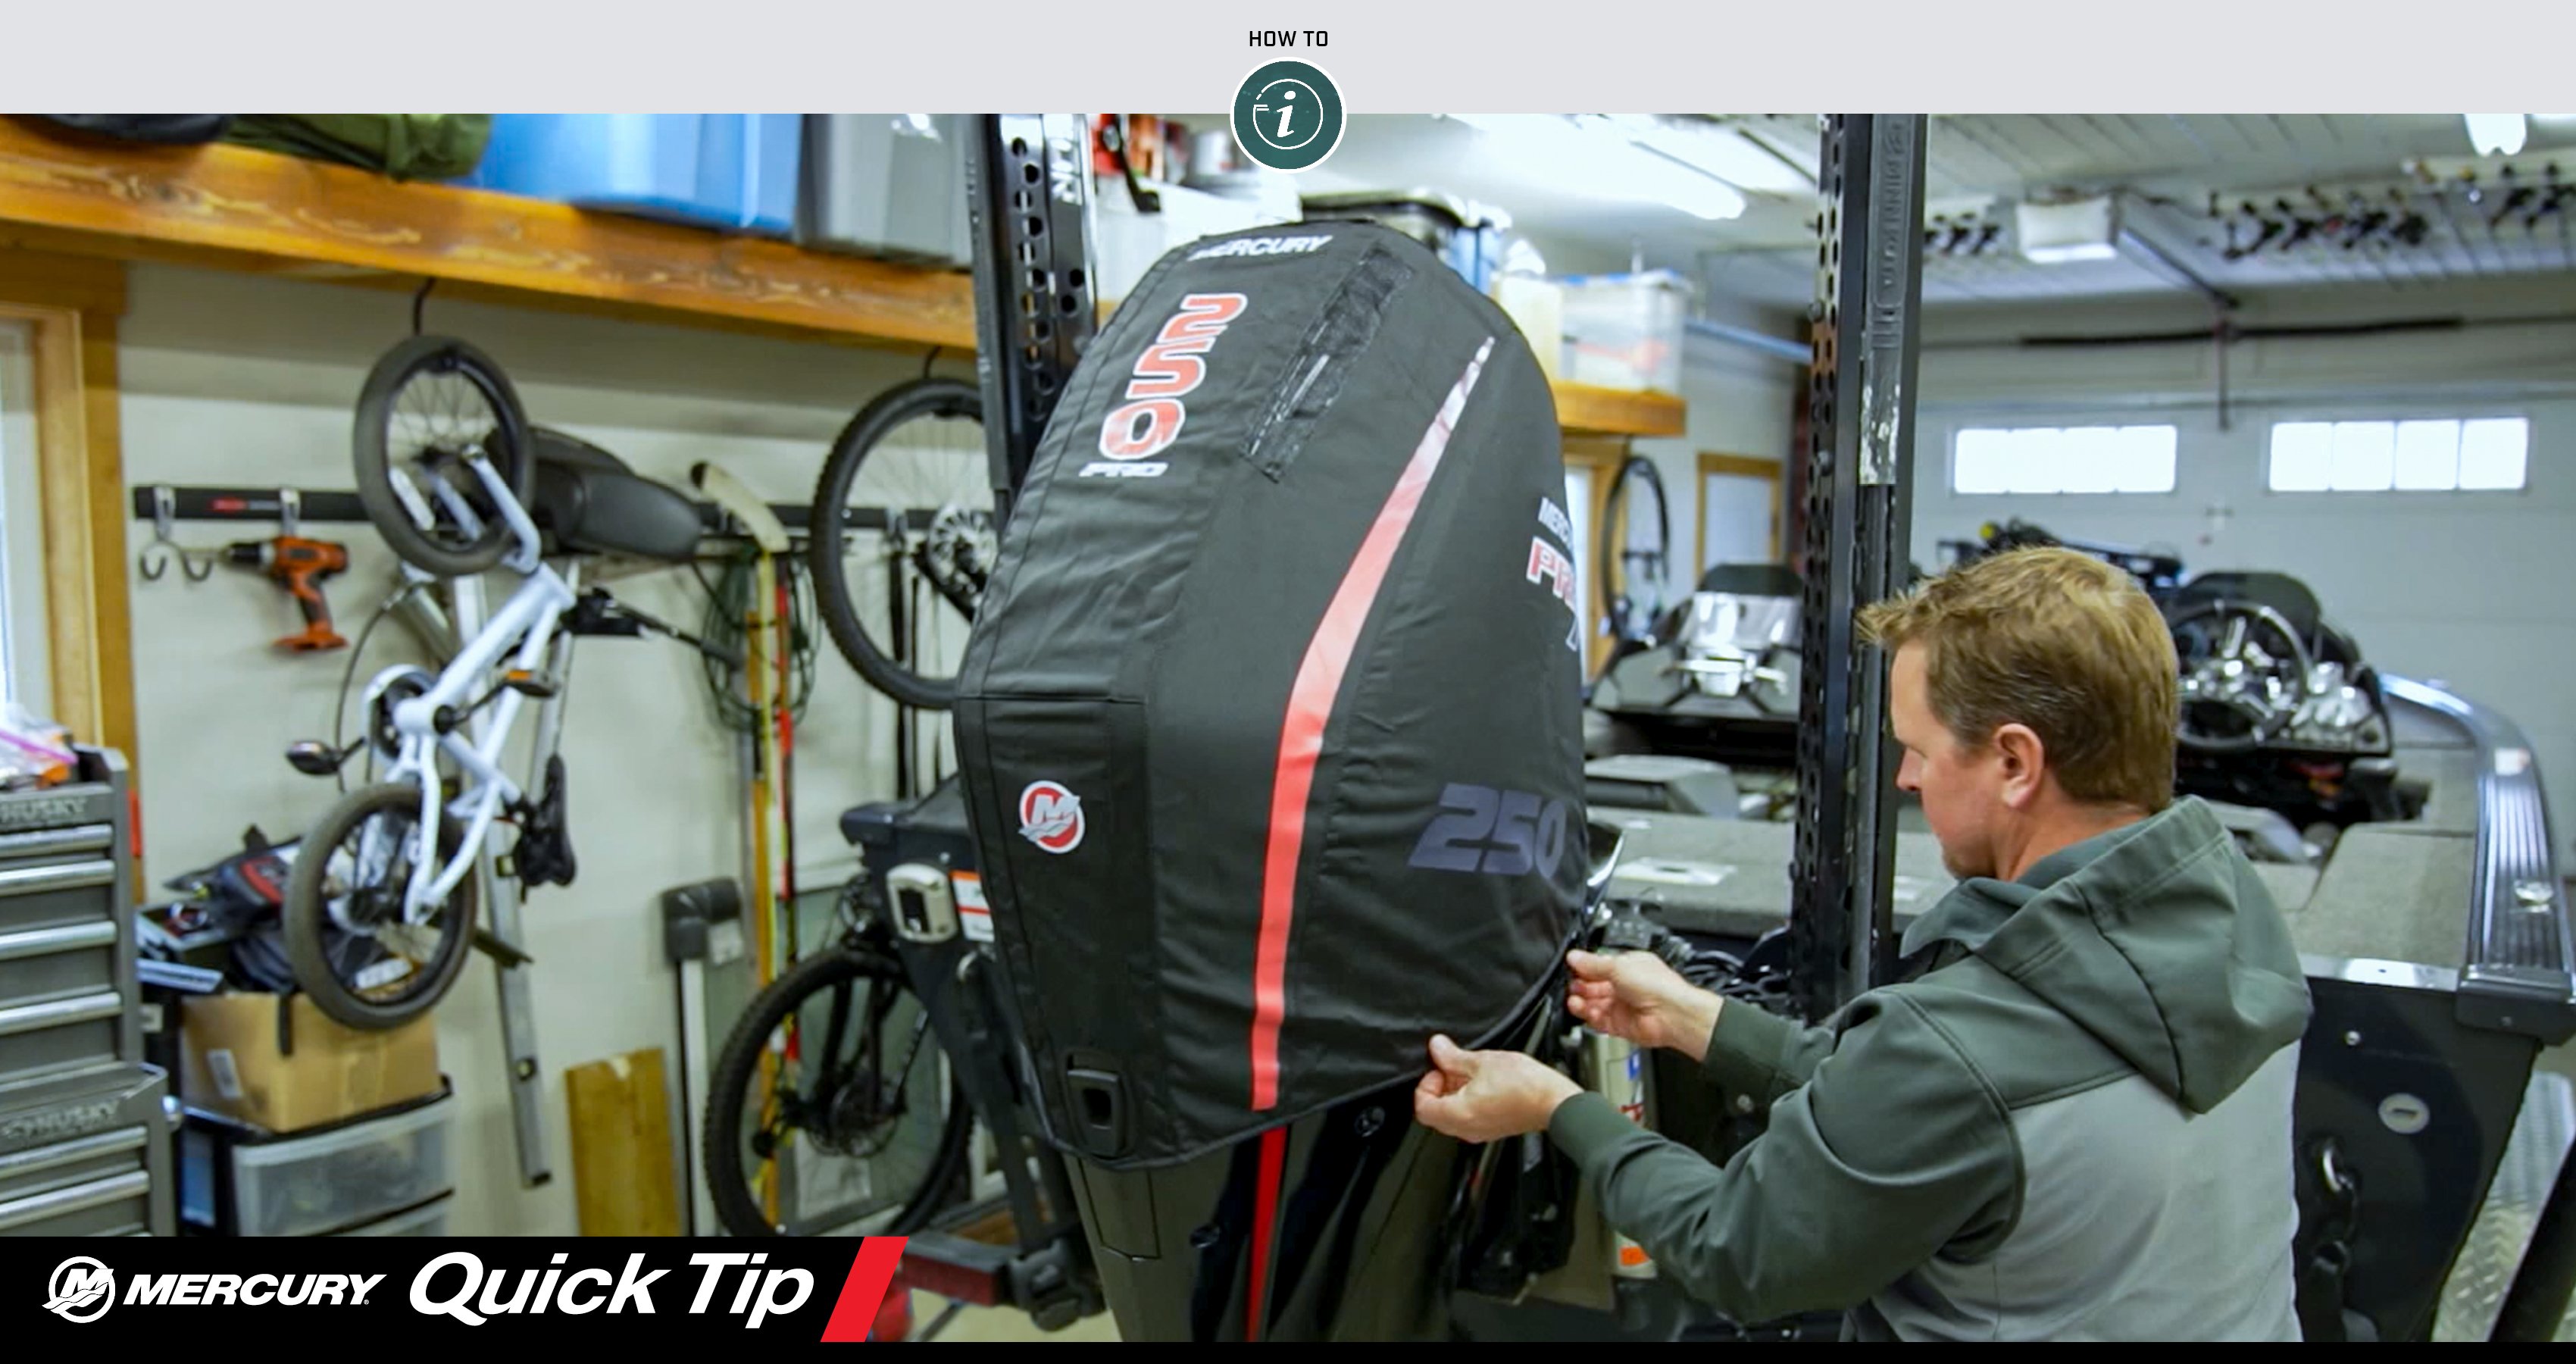
Discarded or lost fishing line floats on the water surface, and can get tangled in the prop as a boat passes over it. The line can work its way into the gap between the prop and gearcase, and wrap around the propshaft. Over time the forward thrust of the propeller presses the line into the rubber propshaft seal. If the seal is damaged water can enter the gearcase and cause significant damage. To check the propshaft for fishing line, remove the propeller and also the large thrust washer that’s behind the prop on some hub styles (there is no thrust washer with the Flo-Torq SSR HD hub). The fishing line is often coated with grease and hard to see. Use a sharp pick or a small screwdriver to pull at the area around the propshaft seal to loosen any line that may be present.
The Flo-Torq SSR HD hub fits Mercury outboard and sterndrive models with a 1.25-inch propshaft, including the Mercury Pro XS 250 outboard Evers runs on his Nitro tournament bass boat, and is designed to reduce shift noise and transom vibration while delivering the performance and durability of a solid-hub design.
When re-installing the Flo-Torq SSR HD hub, first apply a liberal amount of quality marine grease like Mercury 2-4-C to the propshaft splines. Then slide the prop and hub onto the shaft. As Evers points out, there are three washers that fit behind the propshaft nut, and they must be installed in the correct order. The largest, thickest washer goes on first. Next comes the thin spring steel Belleville washer, which has a cupped shape and should be installed so that its edges touch the first washer. Finally install the smaller-diameter thick washer, and then the nut.
Tighten the prop nut with a 1 1/16-inch socket after placing a small wood block (a short section of 2x4 lumber, for example) between the prop blade and the anti-ventilation plate. If you have a torque wrench the nut on a Flo-Torq SSR HD hub should be tightened to 55 ft. lbs. Always refer to the instructions included with your hub kit for detailed installation information.
If you’re looking for help to find the right prop, please visit the Mercury Marine Prop Selector.


