Modern braided lines have changed fishing for the better. Braid is sensitive, casts easily, handles well on spinning reels and is durable enough to fish in heavy cover. It’s perfect for fishing thick grass with baitcasting gear, and when paired with a light fluorocarbon leader, braid is a fantastic choice for finesse fishing.
Learning a good leader knot to connect fluorocarbon to braid is the first step in unlocking braid’s versatility. For that, Mercury Pro Team member Mark Zona, host of “Zona’s Awesome Fishing Show,” recommends the FG knot. It’s thin and incredibly strong. The one catch is that it’s not the easiest knot to learn.
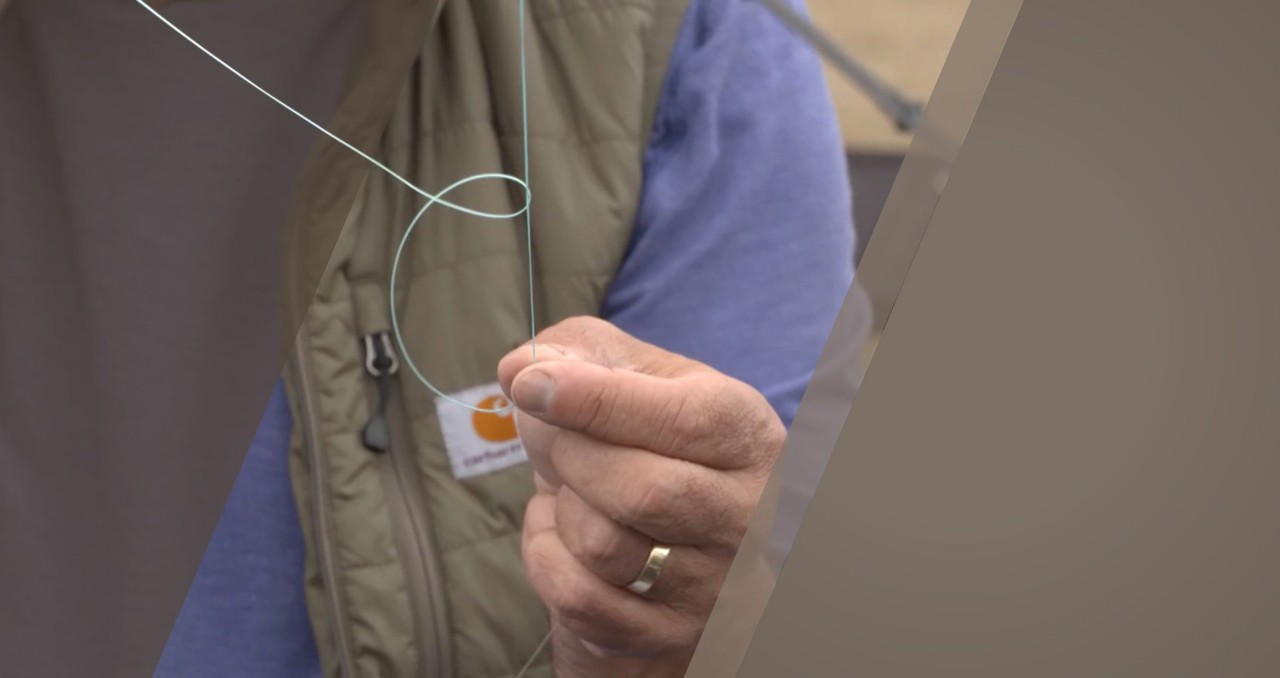
The FG knot is tied by crisscross wrapping the fluorocarbon around the braid 20 times. As the crosses are made, the wraps draw tight. The difficulty lies in maintaining the right amount of tension on both lines for the knot to form properly.
Zona has the process down pat. In the video below, he shows how it’s done. Follow along with the video and the steps outlined below. With Zona’s advice and a little practice, you can master what he calls “one of the best knots in the entire world.”
FG Knot Steps
- Draw plenty of braided main line through the rod guides. Then hold the tag end in your teeth. Adjust the rod position so there’s a slight bow in the line – not tight, but not fully slack either – going from your teeth to the rod tip.
- Put the spool of fluorocarbon on the ground or boat deck under your foot. Keep pressure on the spool, and pull out just enough line to have moderate tension on the fluorocarbon.
- Pass the fluorocarbon across the top of the braid at a 90-degree angle, making sure you have 8 to 10 inches of tag end to work with.
- Wrap the fluorocarbon around the braid forward of where the two lines crossed.
- Now wrap the fluorocarbon around the braid again, this time passing the tag end behind the crossing point.
- That makes two wraps. Repeat this process, alternating forward and behind, until you’ve made 20 wraps. Keep the wraps tight, and use your foot to maintain consistent, moderate tension on the fluorocarbon spool the entire time.
- Once you’ve completed 20 wraps, hold them in your fingertips and release the braid from your mouth.
- Align the tag end of the fluorocarbon with the standing end of the braid. Then use the tag end of the braid to tie two overhand knots around both lines. Try to tighten these overhand knots as close as possible to the wraps. This holds everything in place. Give the knot a quick cinch and make sure nothing slips.
- Trim the tag end of the fluorocarbon close to the wraps.
- Using the tag end of the braid, tie two additional overhand knots around the standing part of the braid, keeping them close to the wraps. This helps to cover the cut end of the fluorocarbon so the knot can slide easily through the rod guides. Cut the tag end off the braid to finish the knot.
For more from Mercury Pro Team member Mark Zona, host of “Zona’s Awesome Fishing Show,” check him out on Instagram, Facebook and YouTube.


